


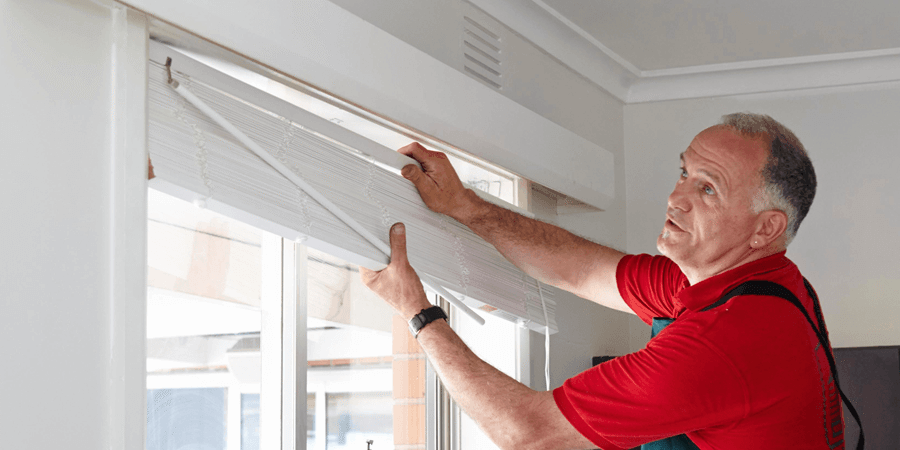
Removing roller blinds is usually a quick and straightforward process once you understand how the mechanism works. Most roller blinds are fitted using simple brackets with either a spring-loaded pin or a chain mechanism. By releasing the tension on one side, the blind can be safely removed without damaging the wall or fittings.
Whether you’re redecorating, replacing old blinds, or cleaning them, this guide explains exactly how to take down roller blinds safely and efficiently.
What You Need Before Removing Roller Blinds?
Before starting, it helps to have a few basic things ready:
- A stable step ladder
- A flathead screwdriver (if brackets are tight)
- A clean surface to place the blind
- Gloves (optional for grip and safety)
In most cases, you won’t need specialised tools. However, understanding how your blinds are installed makes the process smoother. If you’re unsure about different blind types or fittings, a detailed buying guide for blinds can help you understand the structure before removal.
Understanding How Roller Blinds Are Fitted
Roller blinds are typically installed using two brackets on either side:
- Pin-end side (spring-loaded): This side has a small retractable pin
- Control side: This includes the chain or mechanism used to operate the blind
The blind sits between these brackets and can be released by compressing the pin or lifting it out carefully.
Some blinds are mounted inside the recess, while others are fixed onto the wall or ceiling. This is similar to setups like blinds that attach to window frame, where positioning determines how removal works.
How to Take Down Roller Blinds (Step-by-Step)
Step 1: Identify the Mechanism Side
Stand facing the blind and locate the side with the chain or control mechanism. The opposite side will usually be spring-loaded.
Step 2: Lift and Release the Blind
Gently lift the blind upwards from the bracket on the control side. This helps loosen the tension.
Step 3: Compress the Pin-End
Push the blind slightly towards the spring-loaded side. This compresses the pin and allows the opposite end to come free.
Step 4: Remove the Blind Completely
Once one side is free, carefully slide the blind out from the other bracket.
Step 5: Remove Brackets (Optional)
If you need to take down the brackets, unscrew them from the wall or frame using a screwdriver.
How to Remove Different Types of Roller Blinds?
Not all roller blinds are identical. Here’s how removal may vary:
1. Removing Spring-Loaded Roller Blinds
These are the most common. Simply compress the pin-end and lift the blind out.
2. Removing Chain Mechanism Blinds
These may require a slight twist or lift to disengage from the bracket. Avoid pulling on the chain.
3. Removing Blackout Roller Blinds
These are heavier due to thicker fabric. Support the weight with both hands while removing.
If you’re considering upgrading, modern options like smart home blinds offer automated control and easier maintenance.
Common Mistakes to Avoid When Removing Roller Blinds
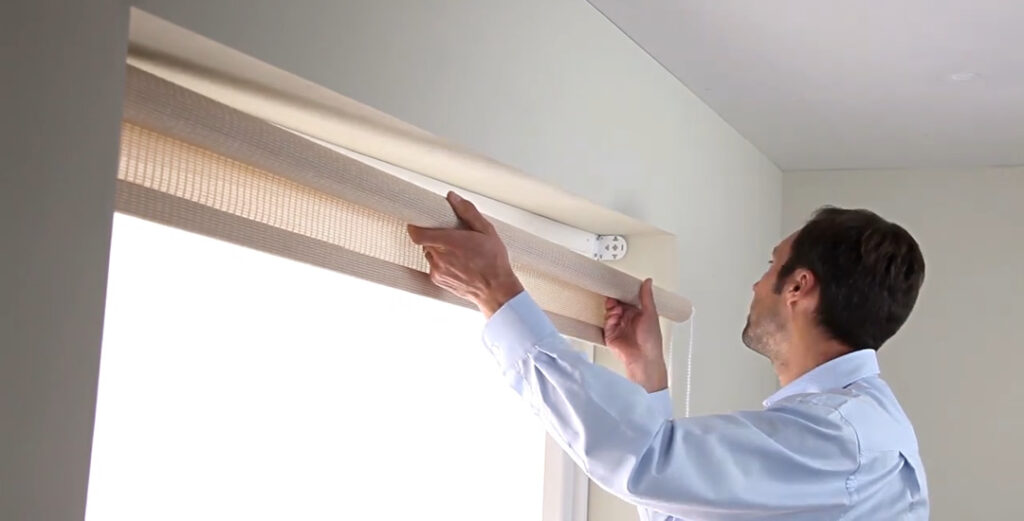
- Pulling too hard: This can damage the brackets or wall fittings
- Ignoring the mechanism: Always identify the spring or pin side first
- Using excessive force on the chain: This can break the control unit
- Skipping support: Larger blinds should be handled with both hands
If the blind feels stuck or difficult to remove, it may be better to rely on a professional blind fitting service to avoid damage.
When to Replace Instead of Reinstall?
Sometimes, removing blinds reveals issues that make replacement a better option:
- Worn-out or frayed fabric
- Faulty rolling mechanism
- Loose or damaged brackets
- Outdated design or poor light control
In such cases, upgrading to newer designs—especially the best blinds for privacy—can improve both function and appearance.
Professional Help vs DIY – What’s Better?
Removing roller blinds is usually manageable as a DIY task. However, professional help is recommended if:
- The blinds are large or installed at height
- The mechanism is damaged or jammed
- You plan to replace them with a different type
Working with experienced providers ensures proper handling, safe removal, and precise reinstallation. Expression Blinds delivers professional support to make the process smooth and hassle-free.
See Real Installations and Results
Before choosing new blinds or services, it’s always helpful to see real examples. Reviewing completed projects gives a clear idea of quality, fit, and finish. You can review of our work to understand how different blind types look in real settings.
Need Help Removing or Replacing Your Blinds?
If you’re unsure about removing your roller blinds or planning to upgrade, getting expert advice can save time and effort. Whether it’s safe removal, replacement, or choosing the right fit for your space, you can contact us today for professional support and guidance.
FAQs
How do you remove roller blinds from brackets?
To remove roller blinds, lift the blind slightly and compress the spring-loaded pin on one side. This releases the blind from the bracket, allowing it to slide out easily.
Can roller blinds be reused after removal?
Yes, most roller blinds can be reused if they are removed carefully and the mechanism remains intact.
Do all roller blinds remove the same way?
No, while the basic principle is similar, some blinds have different bracket types or mechanisms that may require slight adjustments.
Do you need tools to remove roller blinds?
In most cases, no tools are needed to remove the blind itself. However, a screwdriver may be required if you plan to remove the brackets.
How long does it take to remove roller blinds?
Typically, it takes 5–10 minutes per blind, depending on the size and installation type.


